Radio frequency therapy has become a popular skin tightening method and with the NEWA RF wrinkle reduction device you can get the benefits of this clinical -grade technology from the comfort of home without having to take trips to the clinic. But how do you use NEWA and how can you achieve the best possible RF skin treatment results? We’re giving you some tips and tricks to maximize your treatment and make the most out of radio frequency therapy.
Before you start
If you’ve just recently received your NEWA device then there’s some things you can do before starting to use it that will set you up for success.
Take Pictures
We see our faces in the mirror everyday so we tend not to notice gradual changes, especially since how RF technology works is by stimulating skin cells in the deeper layer of the skin. Having pictures to track your progress with can really help you stay motivated.
Decide on a schedule
You’ll want to use your NEWA five times a week for the first month and 2 to 3 times a week after that. Consistency is key to seeing skin-tightening results. Set aside specific days and times in your schedule so you don’t forget to treat your skin and give yourself some self-care time.
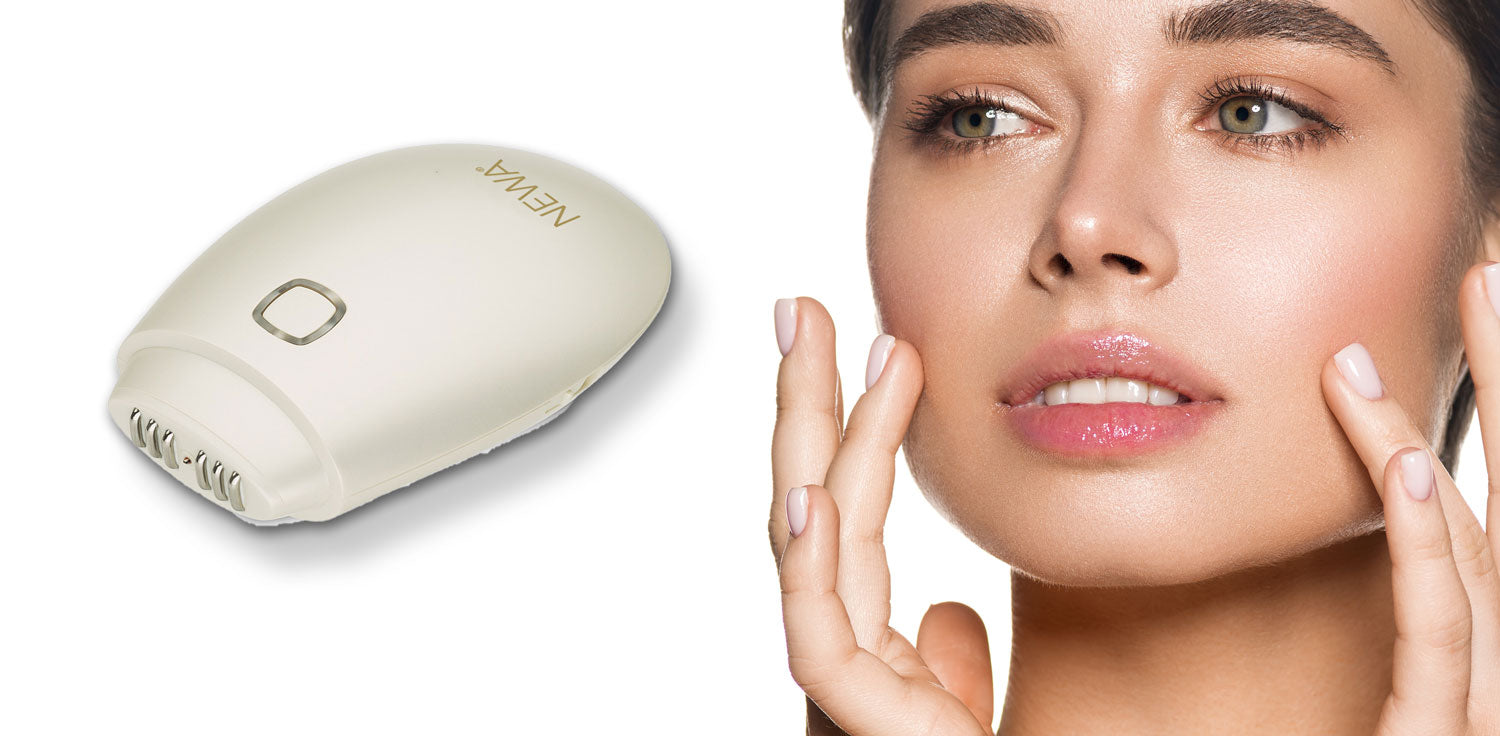
Make sure you know how to use the device
We also recommend you familiarize yourself with how to use NEWA before your first treatment and don’t forget to charge your device overnight if you are using the wireless version – the center button light will blink orange if the battery is insufficient.
Prep your skin
Getting your skin ready for your treatment is both easy and quick - but you don’t want to skip this step!
Radio frequency uses energy waves – known as radio waves – to help boost the proteins that give us tighter and younger-looking skin. When in contact with the epidermis, these waves generate gentle heat, which penetrates into your skin’s deeper layer known as the Dermis. This means that makeup or sunscreen residue could potentially get in the way of conductivity, so you want to thoroughly cleanse your skin with a gentle, oil free cleanser. Immediately use your NEWA after cleansing so your skin doesn’t lose moisture while you wait.
Use your NEWA, the right way
Knowing how to use the NEWA device is key to maximizing your treatment. It may take a minute to learn, but don’t worry, it is very easy and once you get the hang of it, you’ll be an expert!
Before turning NEWA on
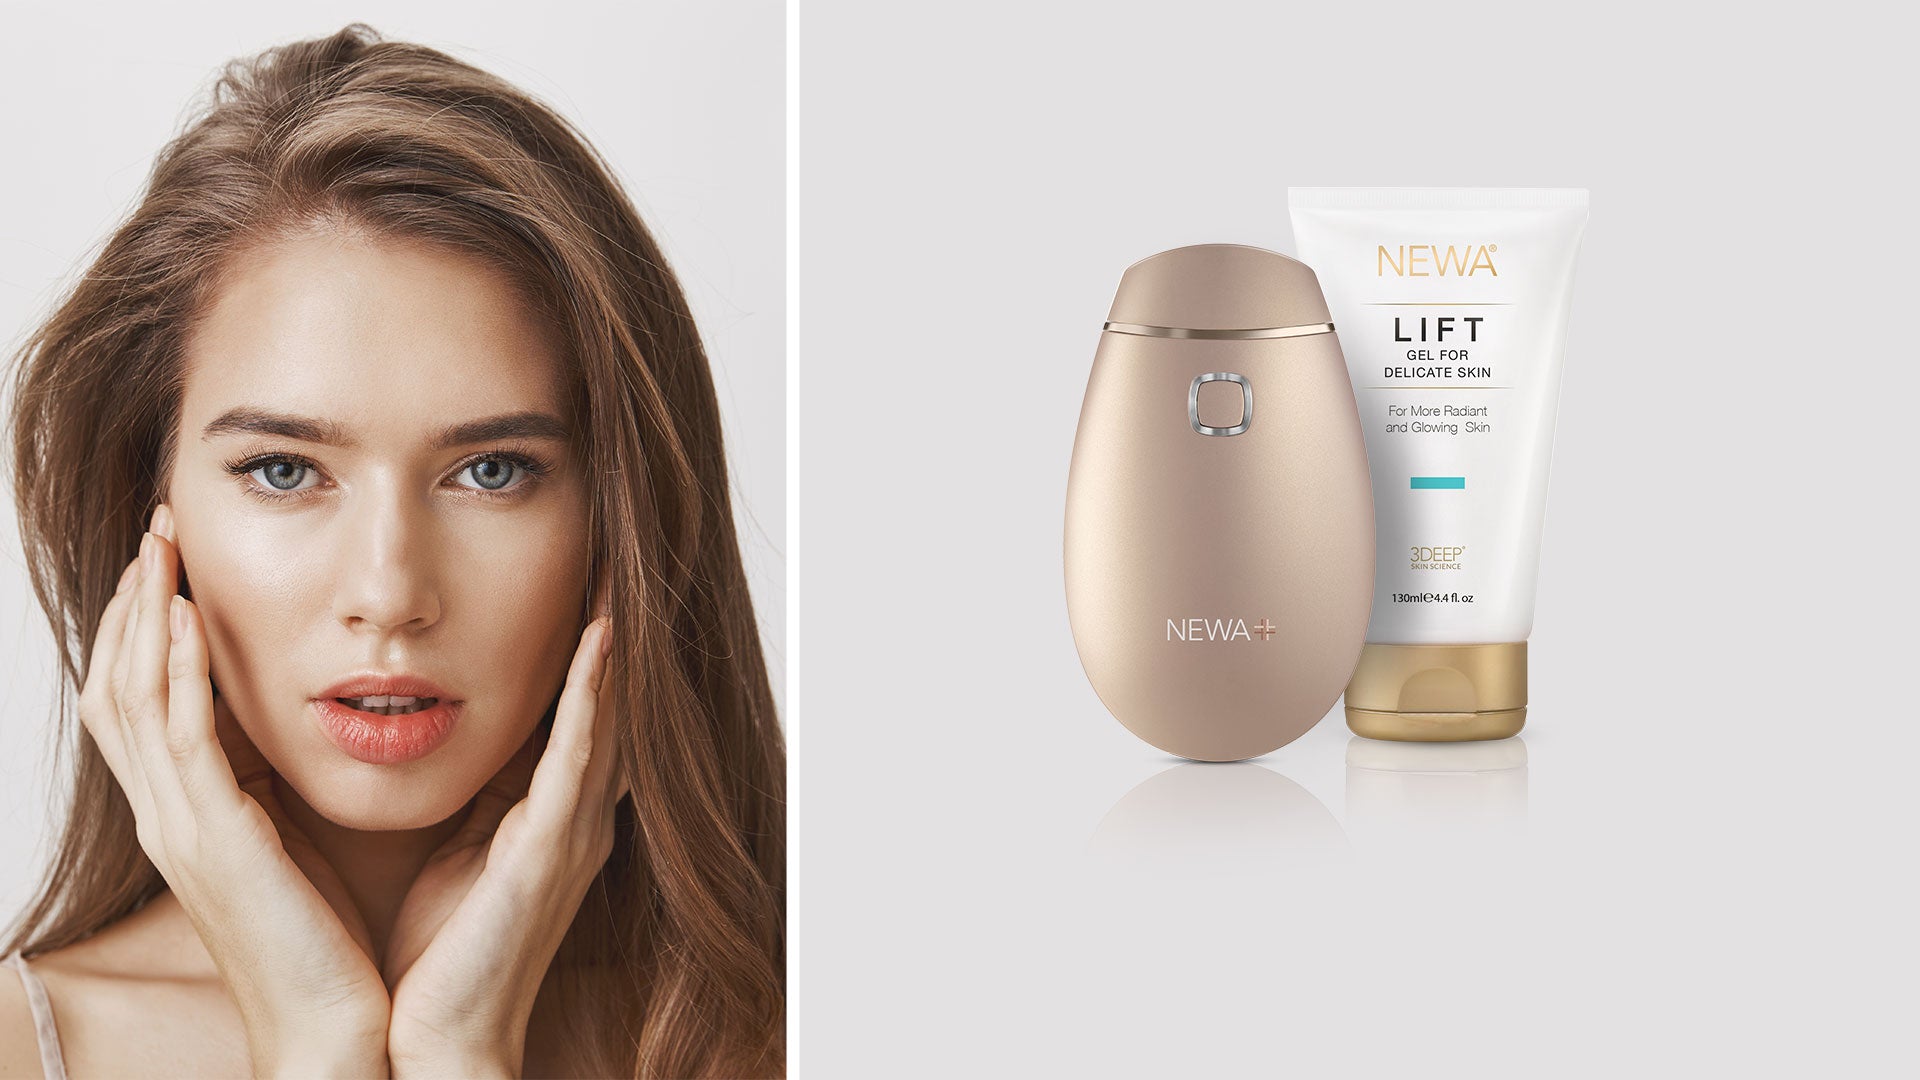
Drop two lines of Lift activator gel on the tip of your device and massage on the area of your face you want to treat to spread the gel. Recommended NEWA treatment areas include the cheeks, the forehead, the chin area. But you should only apply the gel to one treatment area at the time so it doesn’t dry out on other areas of your face.
Start the treatment
Turn the device on to level 2 using the side button and press the center lit-up button. When the button begins flashing blue, you may begin the treatment. Massage the treatment area in small even and slow circles up and down the facial area. Make sure all of the electrodes on the tip on the device are in contact with the skin by using gentle pressure and holding the device onto the skin. The center button light will turn green to let you know your NEWA has reached optimal temperature. If your skin turns a little pink, it’s a good sign! It means you’re doing things right.
End the treatment
When the four minute cycle is over, the device will vibrate. You can then stop, gently clean the electrodes with a cloth and repeat the process on a different treatment area.
Clean up!
Wipe the gel off your device and rinse your face.
After Care
Being non-invasive and gentle on the skin, NEWA treatments have no down time. A little redness can occur during and after treatment but quickly dissipates and can also be easily covered with makeup if you’re in a rush. That’s why it is so easily incorporated into your routine.
After Your Treatment, don’t forget to cleanse your skin to remove the gel residue. Then, you can proceed with your normal skincare routine. Make sure to apply sunscreen if there is daylight outside.
Apply a growth factor or peptide serum post treatment to take advantage of the fact that your skin absorbs products better after using NEWA. If it’s morning, we also recommend applying a Vitamin C serum under your sunscreen to boost protection and aid collagen formation.
Pro tips
Now that you’re a NEWA expert, we also have some pro tips for you:
- If you have a red light therapy or microcurrent device, these pair beautifully with NEWA and you could use them after your RF treatment for maximum results.
- Treatments are more successful when you care for your skin outside of using NEWA. So make sure you follow a skincare routine and use sun protection!
- While NEWA is effective by itself, it can be helpful to pair it with proven topicals like Vitamin C and retinoids.
- If your center button does not turn green during treatment, make sure you’ve applied enough gel and the electrodes are clean. Slow down and massage in very small circles. Also check that the device is on level 2 and the center button is blinking to indicate it is on
If the device feels too hot on your skin, make sure the electrodes on your NEWA are clean and you’ve got enough gel for proper glide Make sure probes are clean. You may also want to pick up the pace and make larger faster circles on your treatment area. Otherwise, just lower the intensity to level 1 with the side button.
Final thoughts
The NEWA RF wrinkle reduction device is a great tool to achieve tighter skin form the comfort of your home. No trips to the clinic required. That’s why over 300,000 people worldwide have already made it a part of their skincare routine. Besides learning how to use your NEWA the correct way, we hope these tips and tricks help you maximize the results from your RF treatment so you can see improvements faster and better.